Create a .NET Core WebAPI
Introduction
As a software engineer trained to build software that is durable, extensible and easy to maintain I prefer to write my backend services in strongly typed languages. I believe the portability, speed and number of developers that can work with C# make ASP.NET Core 3 an appealing framework to use to build Web APIs with. This guide serves as a very rapid starting point to building a web API using .NET Core and Swagger UI.
Create the Web API
Let's get started. You can quickly create a .NET Core WebAPI using the command dotnet new webapi --output DotNetWebApi. The flag --output specifies the directory the API will be created in related to your current working directory. The web API will be named the same as the --output parameter. You can specific a different name than the output directory by using the --name flag. Additional documentation for the dotnet CLI is available at Microsoft's documentation page.
Originally when I ran the above command the following error was returned:
An update for template pack Microsoft.DotNet.Web.ProjectTemplates.3.1::3.1.6 is available. install command: dotnet new -i Microsoft.DotNet.Web.ProjectTemplates.3.1::3.1.9
If this is encountered the given command can be run to update the template. If you are curious about all out of date templates you might have, run dotnet new webapi --update-check to get a list of templates with available updates. Want to update them all? Simply run dotnet new webapi --update-apply to update all templates. You can see all available templates here. I chose to update all of my installed templates before re-running the command to create the web API
If you will be using git based version control I would recommend adding a .gitignore file using the command dotnet new gitignore.
Set Up Swashbuckle and SwaggerUI
SwaggerUI is an amazing tool that takes an OpenAPI spec json file, does a little wizardry, and presents it in a beautiful UI that allows users to consume an API directly in the browser. No Postman or cURL command required! A live demo is accessible here.
Swashbuckle is an amazing tool and generator that will read your API codebase and generate the required Swagger files and data to create a SwaggerUI.
To install the full suite of tools needed run:
dotnet add package Swashbuckle.AspNetCore
Next, we need to enable Swagger to generate its metadata and enable SwaggerUI.
In Startup.cs modify ConfigureServices to be as follows:
public void ConfigureServices(IServiceCollection services)
{
    services.AddControllers();

    services.AddSwaggerGen(); // Add this
}
Also in Startup.cs modify Configure to include the following above if (env.IsDevelopment()):
public void Configure(IApplicationBuilder app, IWebHostEnvironment env)
{
    app.UseSwagger(); // Add this

    // Add this
    app.UseSwaggerUI(c =>
    {
        c.SwaggerEndpoint("/swagger/v1/swagger.json", "My API V1");
    });

    // Rest of boiler plate code below...
}
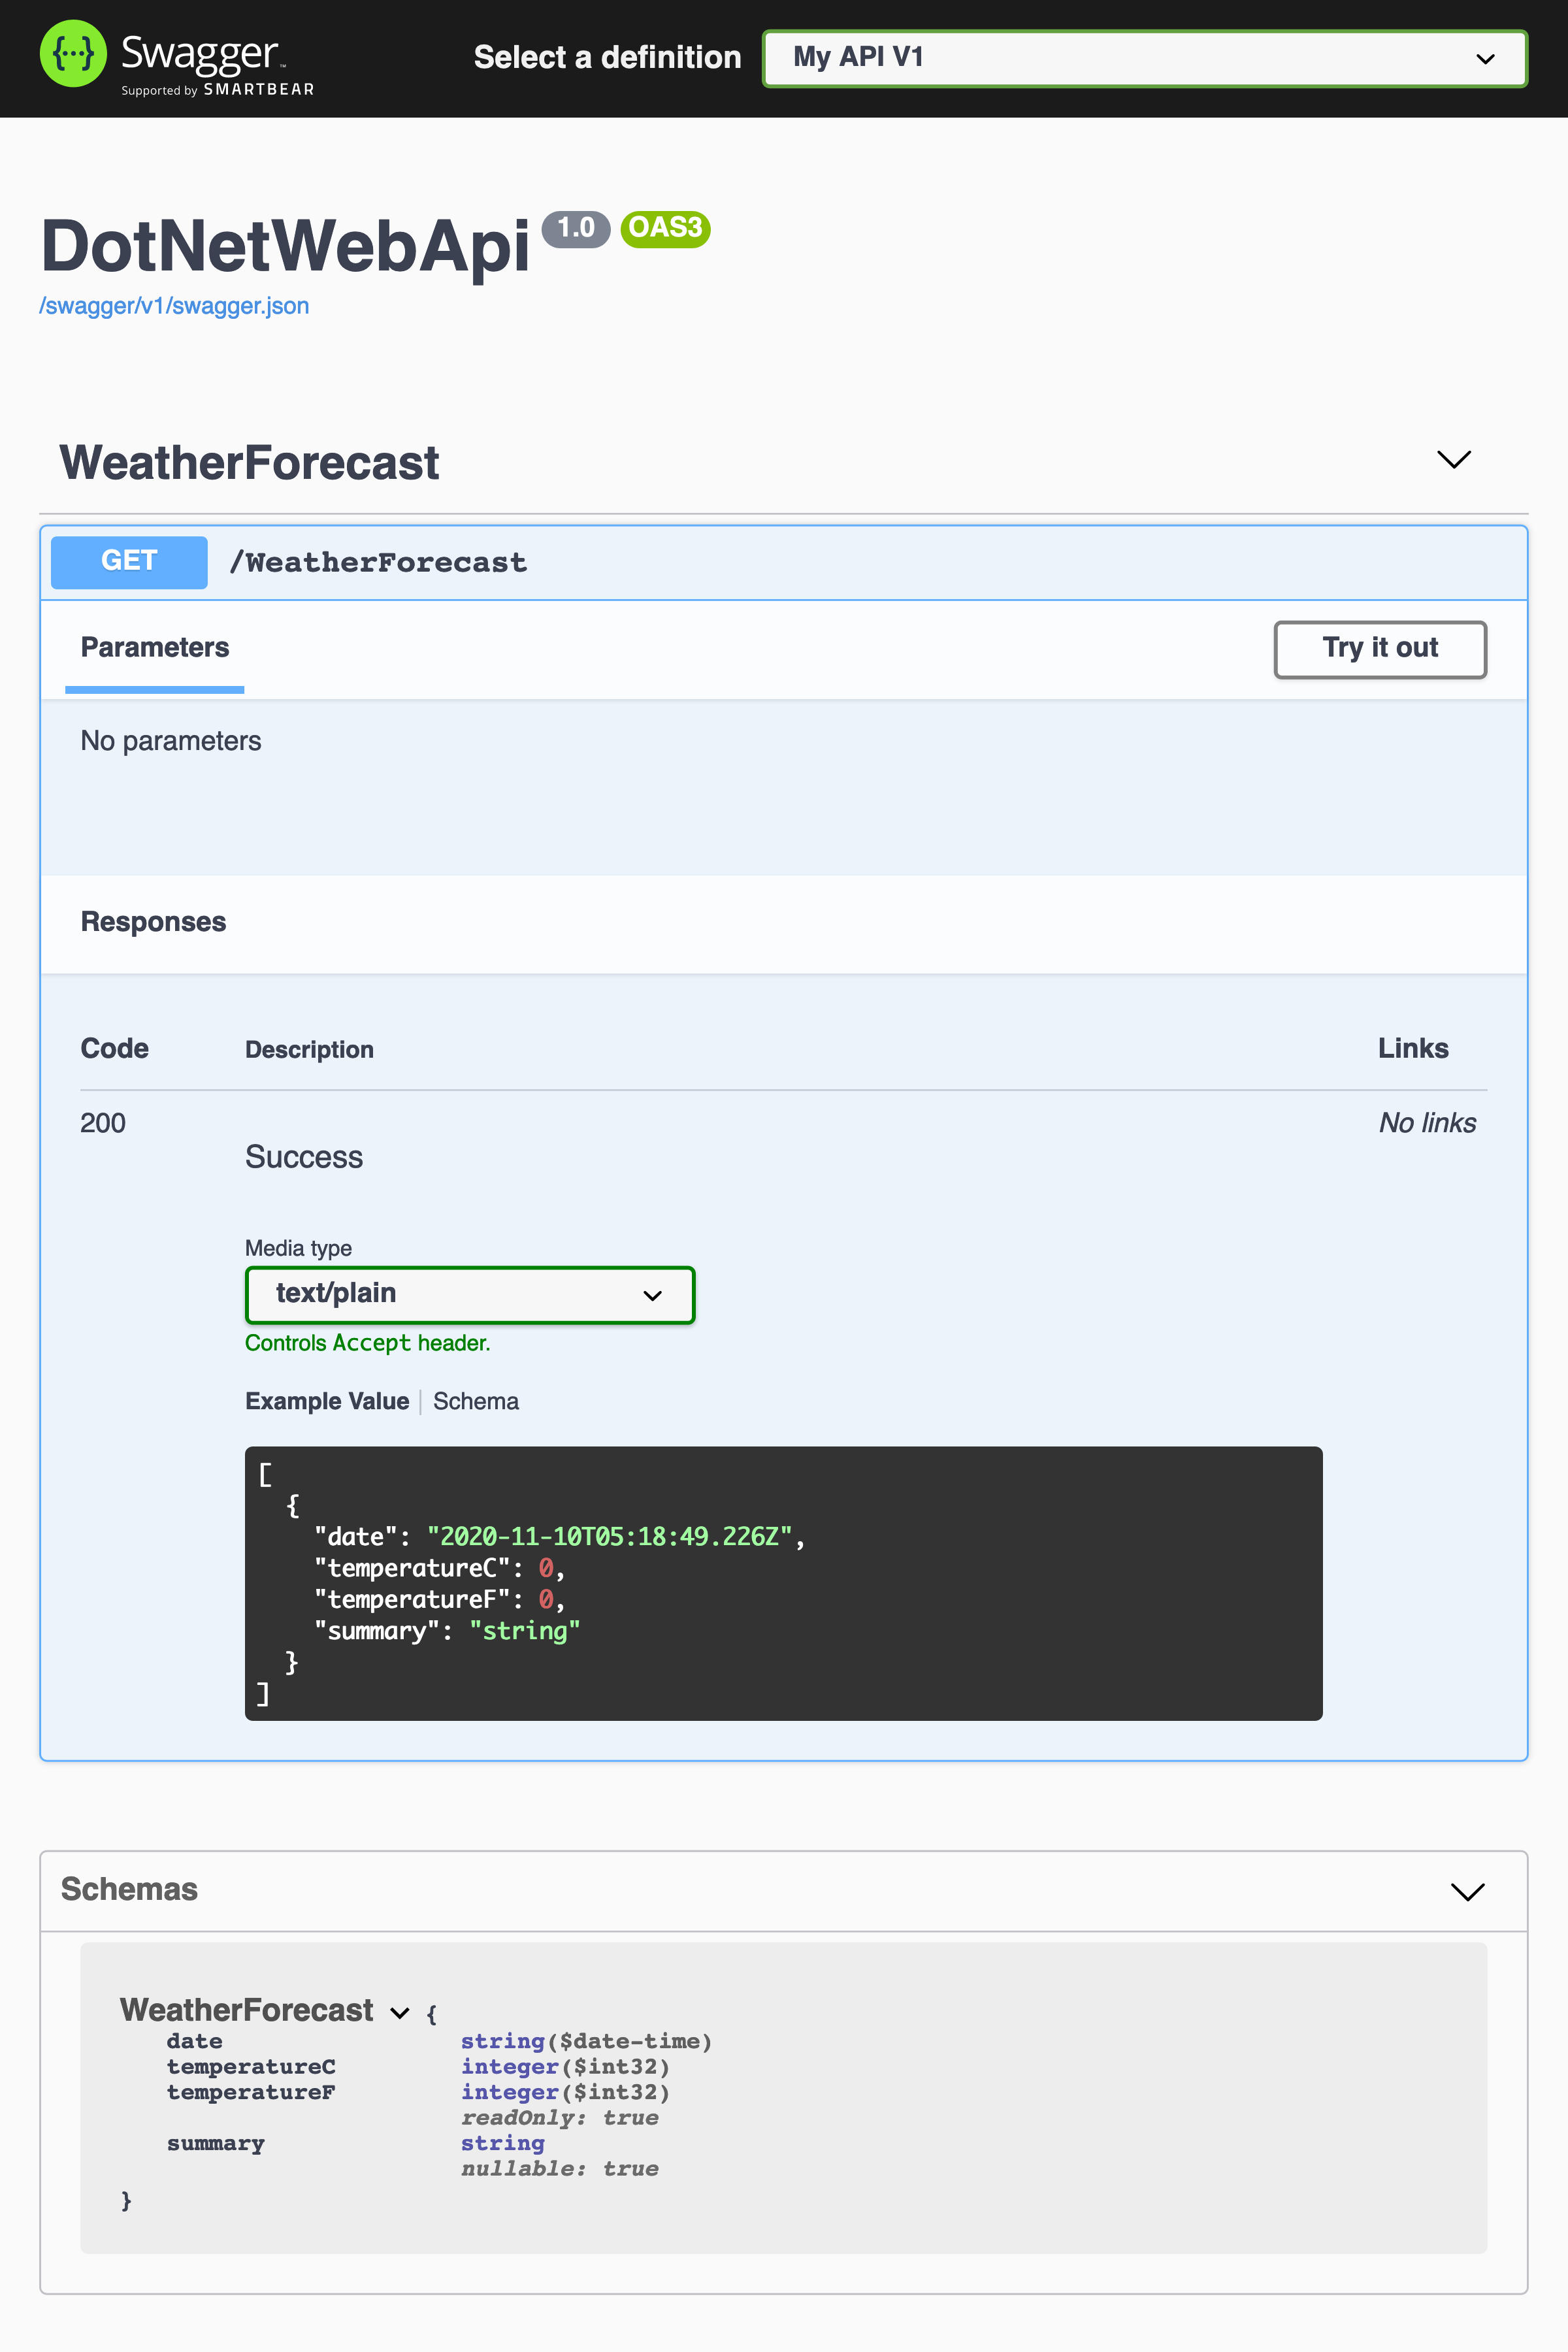
Let's take a moment to make sure our app will launch properly and that we can access Swagger. To do this simply run dotnet run and navigate your favorite browser to http://localhost:5001/swagger. At this point you should see something like the below image after navigating to the Swagger page.

Serve API Documentation at root of URL
I want to serve my Swagger documentation page at the root of my API's URL since this will only be an API and will never serve any HTML (besides Swagger). To accomplish this simply navigate to Startup.Configure and modify UseSwaggerUI to match the following:
app.UseSwaggerUI(c =>
{
    c.SwaggerEndpoint("/swagger/v1/swagger.json", "My API V1");
    c.RoutePrefix = string.Empty; // This is new
});
Now, navigating to http://localhost:5001 will automatically load the Swagger documentation page!
Configure Attribute Routing
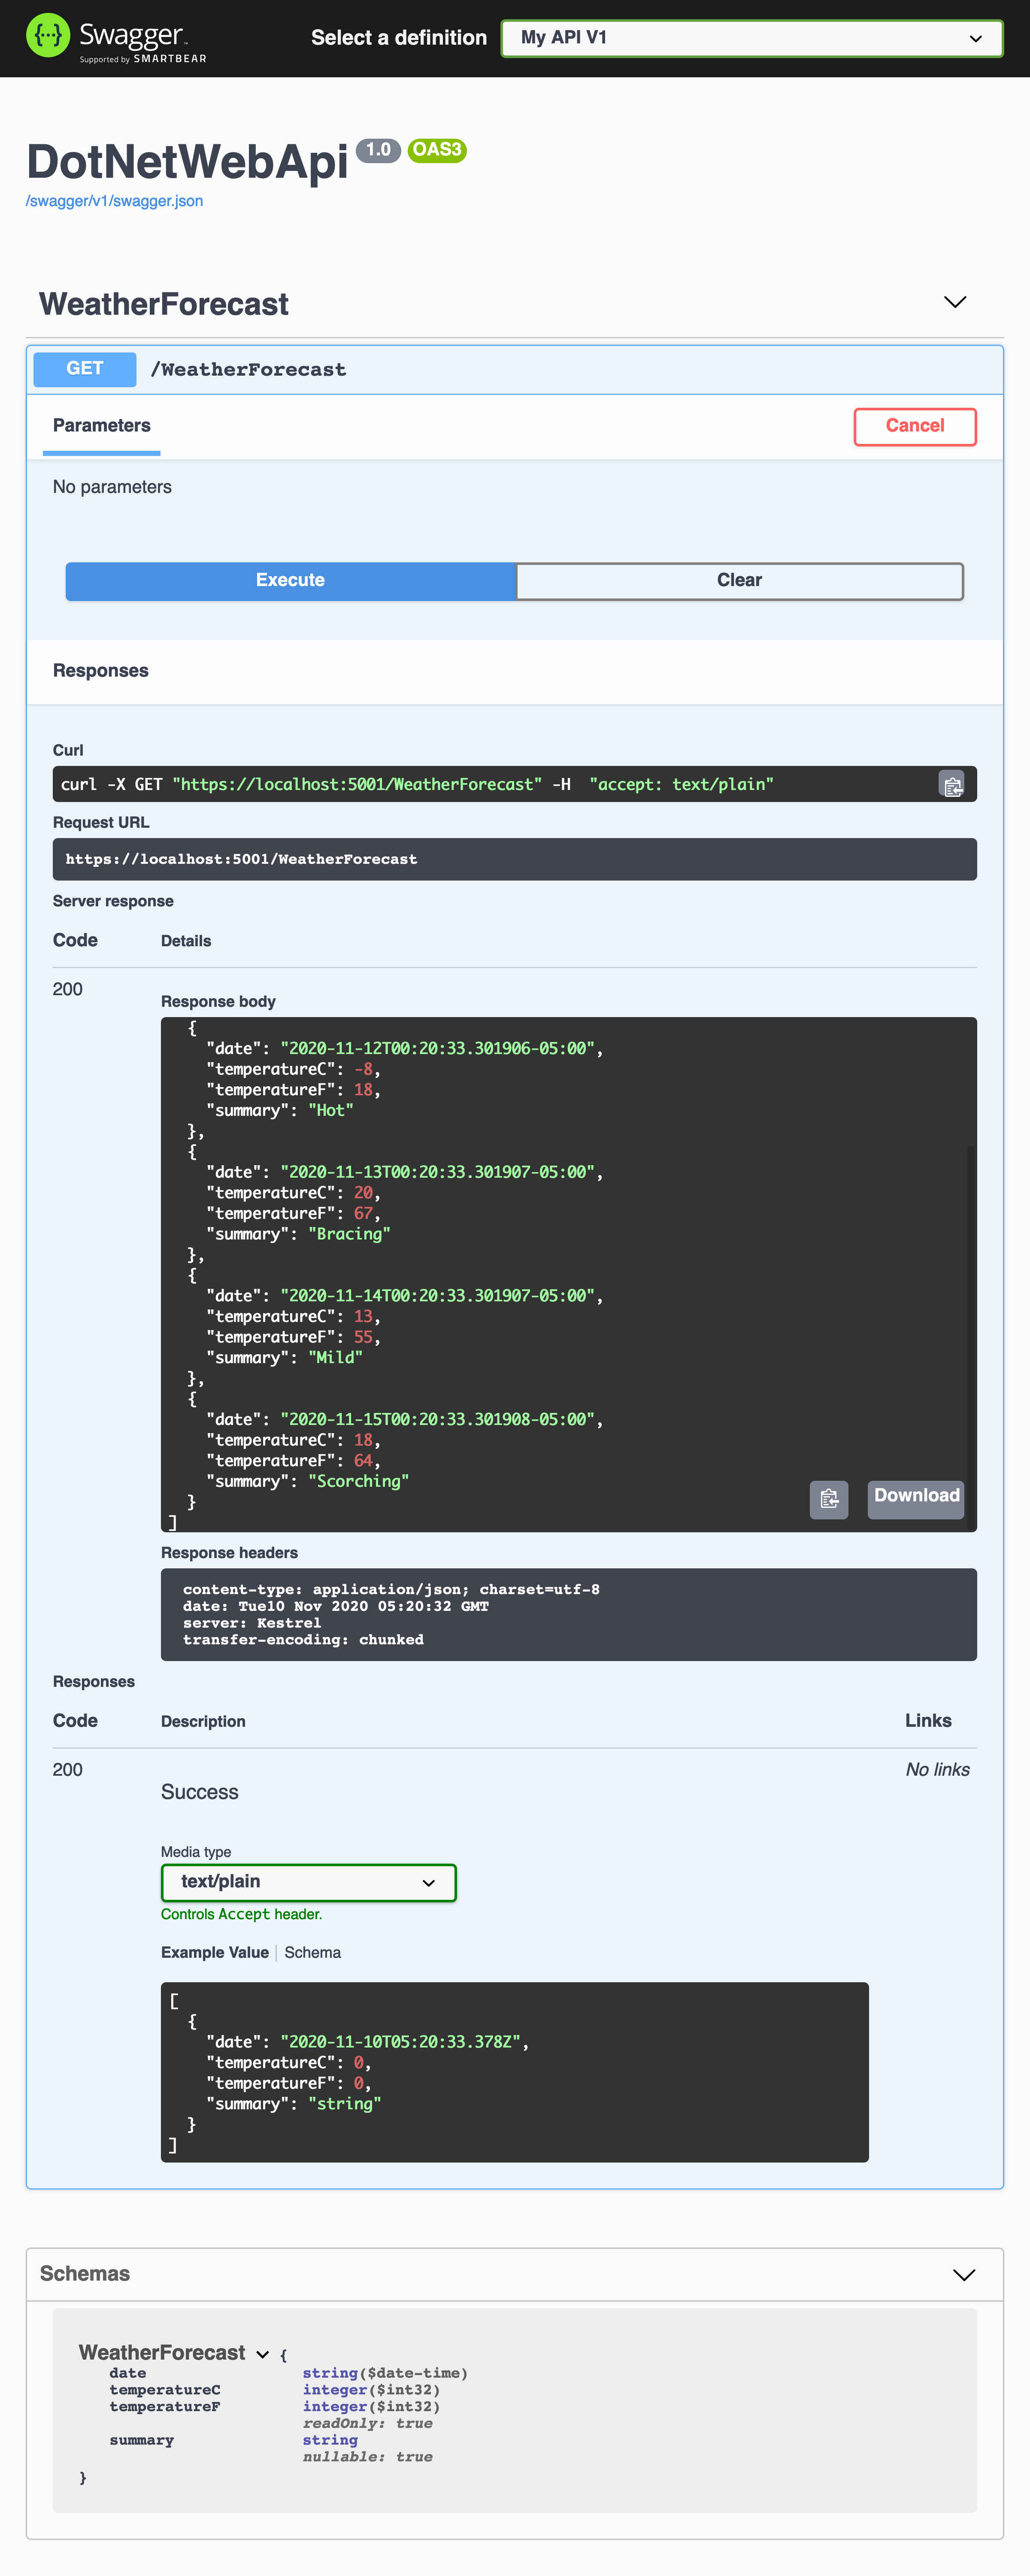
Playing around on this page you may have noticed that when executing the API calls, the request URL is https://localhost:5001/WeatherForecast. Good design patterns dictate that an API's URL path begin with api/. This is a very easy to solve when using .NET Core's Attribute Routing.
Open WeatherForecastController.cs and update the attribute for the controller:
namespace DotNetWebApi.Controllers
{
    [ApiController]
    [Route("[controller]")]     // Delete this line
    [Route("api/[controller]")] // Add this line
    // [Route("api/[controller]")]
    public class WeatherForecastController : ControllerBase
    {
        // Controller code...
Let's test our changes by running dotnet run and navigating to http://localhost:5001. We should see the new request URL https://localhost:5001/api/WeatherForecast - notice the api/ fragment.
Lowercase URLS
Some developers will be put off by the typical Pascal Case (e.g. WeatherForecast) versus Camel Case (e.g. weatherForecast) versus lowercase. .NET Core web API makes it very easy to modify URL routes' casing. To force URLs to lower case open up Startup.cs and modify ConfigureServices to match the following:
public void ConfigureServices(IServiceCollection services)
{
    services.AddControllers();

    services.AddRouting(c => c.LowercaseUrls = true); // Add this

    services.AddSwaggerGen();
}
Summary
With the dotnet CLI and .NET Core web API it is incredibly easy to get an API locally created and running in little to no time. Obviously this API still needs to connect to a data source and be hosted on a server, but this is a great start.
Stay tuned for additional posts that will cover architecting this application, adding a database and hosting it on a VPS.